Chimney safety
Fire in the flue and exhaust in the house are the two outcomes worth preventing. Here is what the standards, the state code and the local rules ask of a fireplace, stove or insert between Lake Sammamish and the Cascade foothills.
On September 21, 2026, the Washington State Fire Marshal reported that chimney and flue fires made up 77% of residential building heating fires in 2024, and that the state recorded six fire deaths from home heating sources the previous year. The other hazard is quieter: carbon monoxide, which enters a house when a flue is blocked, cracked or the wrong size for what is venting through it.
The four towns we serve are not alike. Redmond lies at the north end of Lake Sammamish, with the Sammamish River and Bear Creek running through it. Sammamish occupies a plateau about 500 feet up. Duvall climbs a hillside above the Snoqualmie River, and Carnation stands where the Tolt River joins it. What they share is a long wet season, an earthquake risk their hazard plans take seriously, and one clean air agency. The sections below take those in turn.
Every twelve months
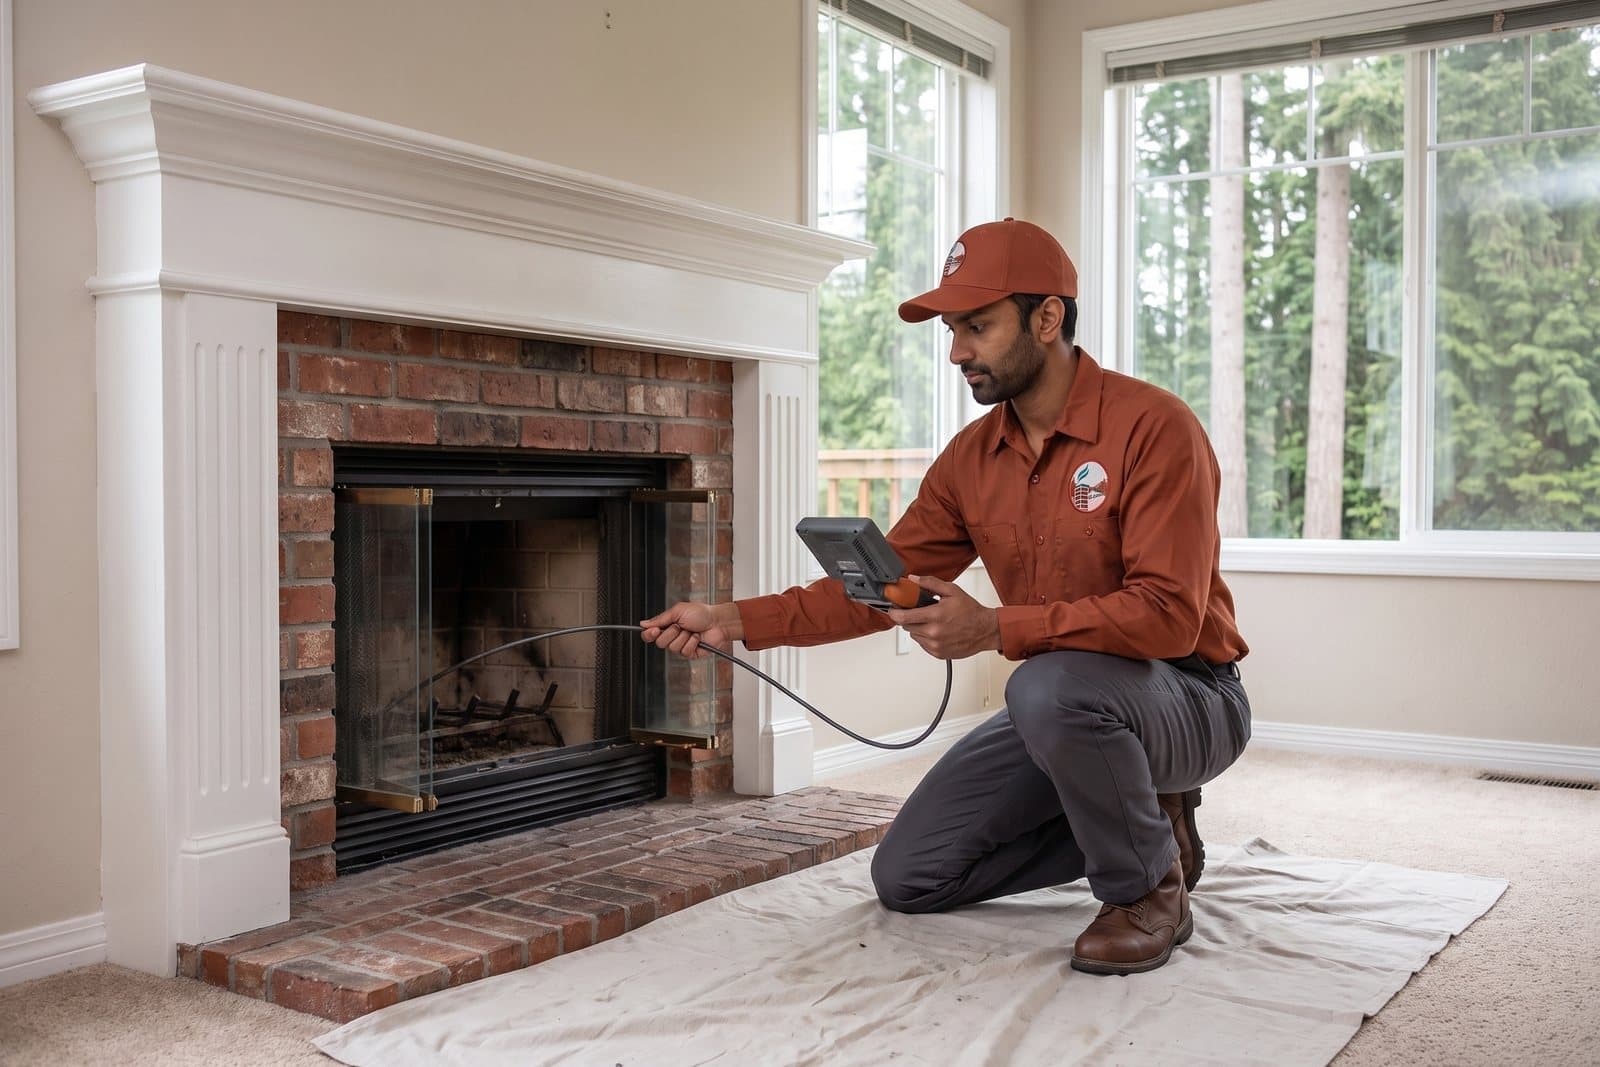
NFPA 211 is the standard that governs chimneys, fireplaces and vents nationwide. CSIA publishes its inspection clause: a check every year, at minimum, that the system is sound, clear of deposits and built with correct clearances. Three plain tests, and none of them can be run from the couch.
A chimney inspection answers all three with a camera and a trip to the roof. Book it for the dry months: WeatherSpark dates Redmond's clearer season from roughly June 16 to October 7.
What burns in a chimney fire
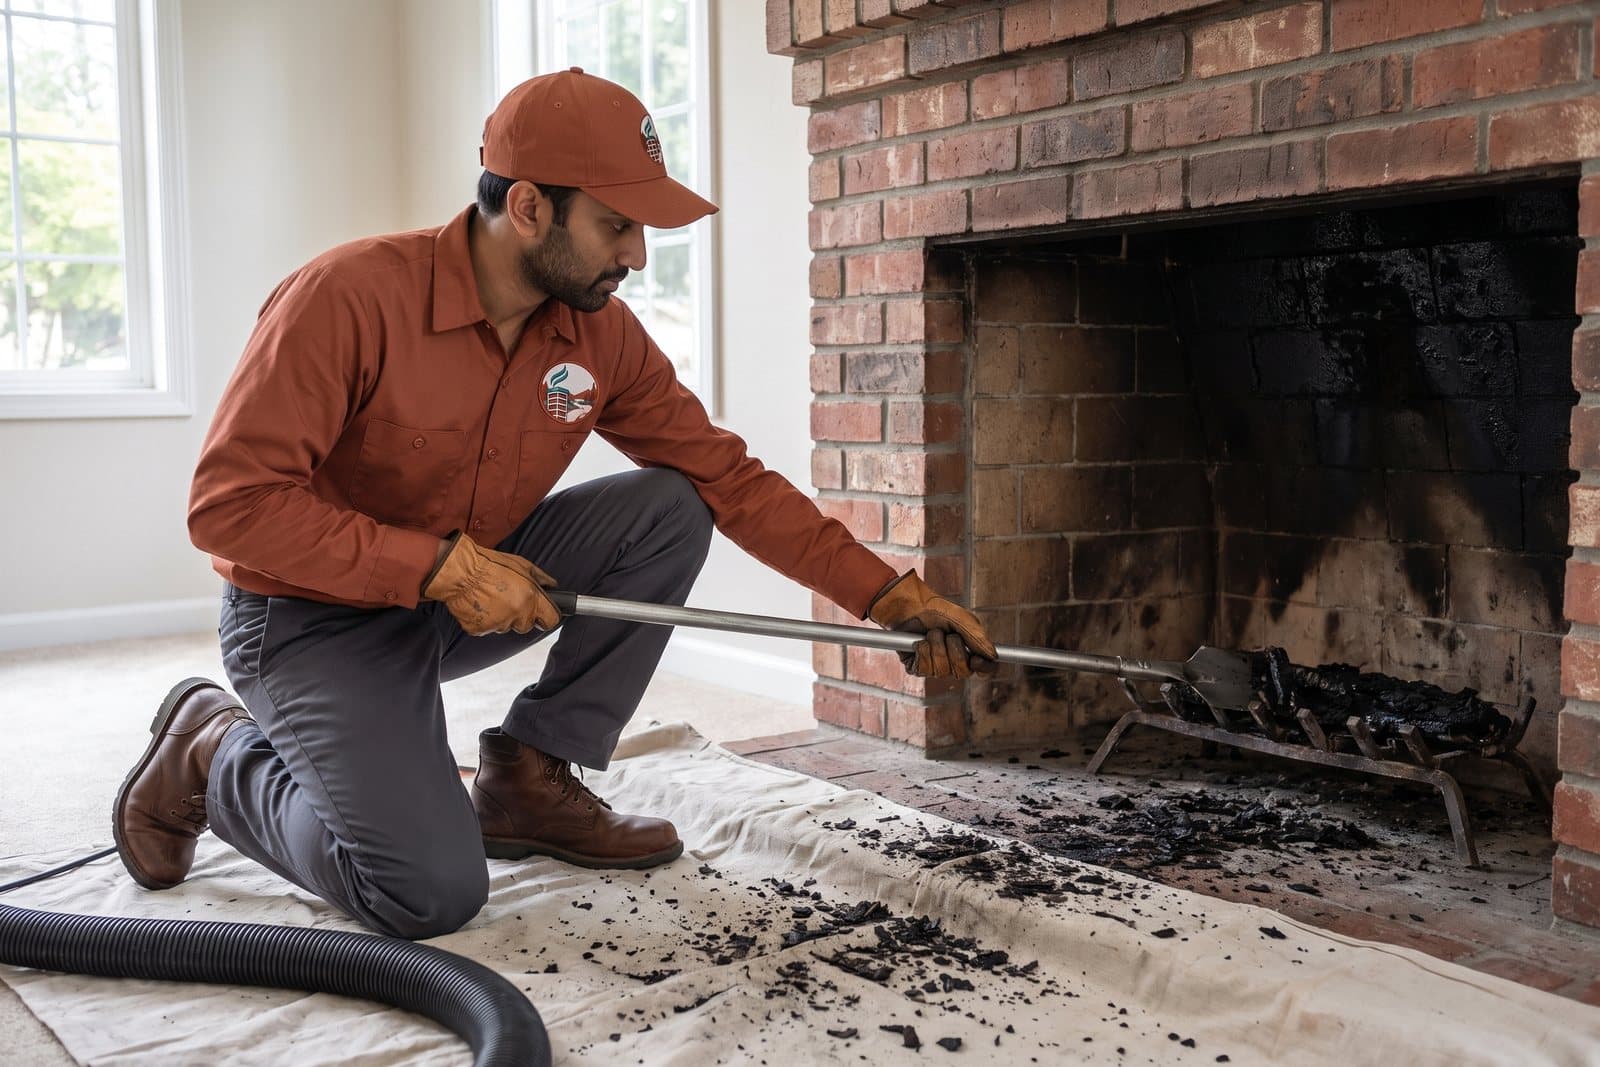
Wood smoke carries unburned tar. Where the flue is cool, that tar condenses and sticks, and the result is creosote. CSIA's rule of thumb is to sweep a masonry fireplace when sooty buildup reaches 1/8 inch, and earlier if any glaze has formed. A chimney sweep removes the first two forms; creosote removal is the separate job for glaze.
Fuel is the part you control. The Department of Ecology recommends wood that has been split, covered and stacked for at least one year. State rule bans garbage, treated wood, plastic, rubber, paints and chemicals from the firebox altogether, and it holds chimney smoke to 20 percent opacity, measured over six consecutive minutes in any hour.
Every fuel that burns in a house makes it, gas included. A clear vent sends it outdoors; a nest, a slipped joint or an oversized flue can keep it in. Alarms on every level tell you what your senses will not.
Gas country
Gas matters here because so many homes run on it. By Census estimates, utility gas is the main heating fuel in 72.1% of occupied homes in Sammamish, 60.0% in Duvall, 44.5% in Carnation and 38.3% in Redmond. Those figures count furnaces, not fireplaces, but a furnace or water heater often vents through a chimney too, and a gas fireplace has a vent of its own. The failure pattern is the same in each case: the exhaust path gets narrowed or broken and the gas stays inside. A liner sized for the appliance, a cap that keeps birds out, and a yearly look at the vent connections cover most of it. If an alarm goes off, leave the house and call from outside.
Air quality rules
In King County, the Puget Sound Clean Air Agency is the body that declares air quality burn bans, so the same notice covers Redmond, Sammamish, Duvall, Carnation and the rural land around them. They come in two stages.
WAC 173-433-150, Washington's curtailment rule, tells anyone with a fire already lit to stop feeding it once a ban starts. One exception exists: a house that nothing except wood can heat adequately. The household must apply and be approved ahead of the ban, under the agency's "No Other Adequate Source of Heat" exemption. The agency is explicit that finding electric, oil or propane heat too expensive does not qualify. When inspectors, who are trained to judge smoke opacity, see a ban being broken, the property owner receives a Notice of Violation.
Current status is posted on the agency's website with an area map, on its phone line and through alert sign-ups. A ban is a good week to have the flue swept: maintenance is not burning.
October to May
By WeatherSpark's measure, Redmond stays in its wetter season for 6.8 months (October 9 into early May) and Carnation for 7.3. Brick takes in some of every shower. The cool season overlaps it, running in Redmond from around November 13 to March 1, with a snowy period between early December and late January. Each frost widens whatever crack was holding water the night before.
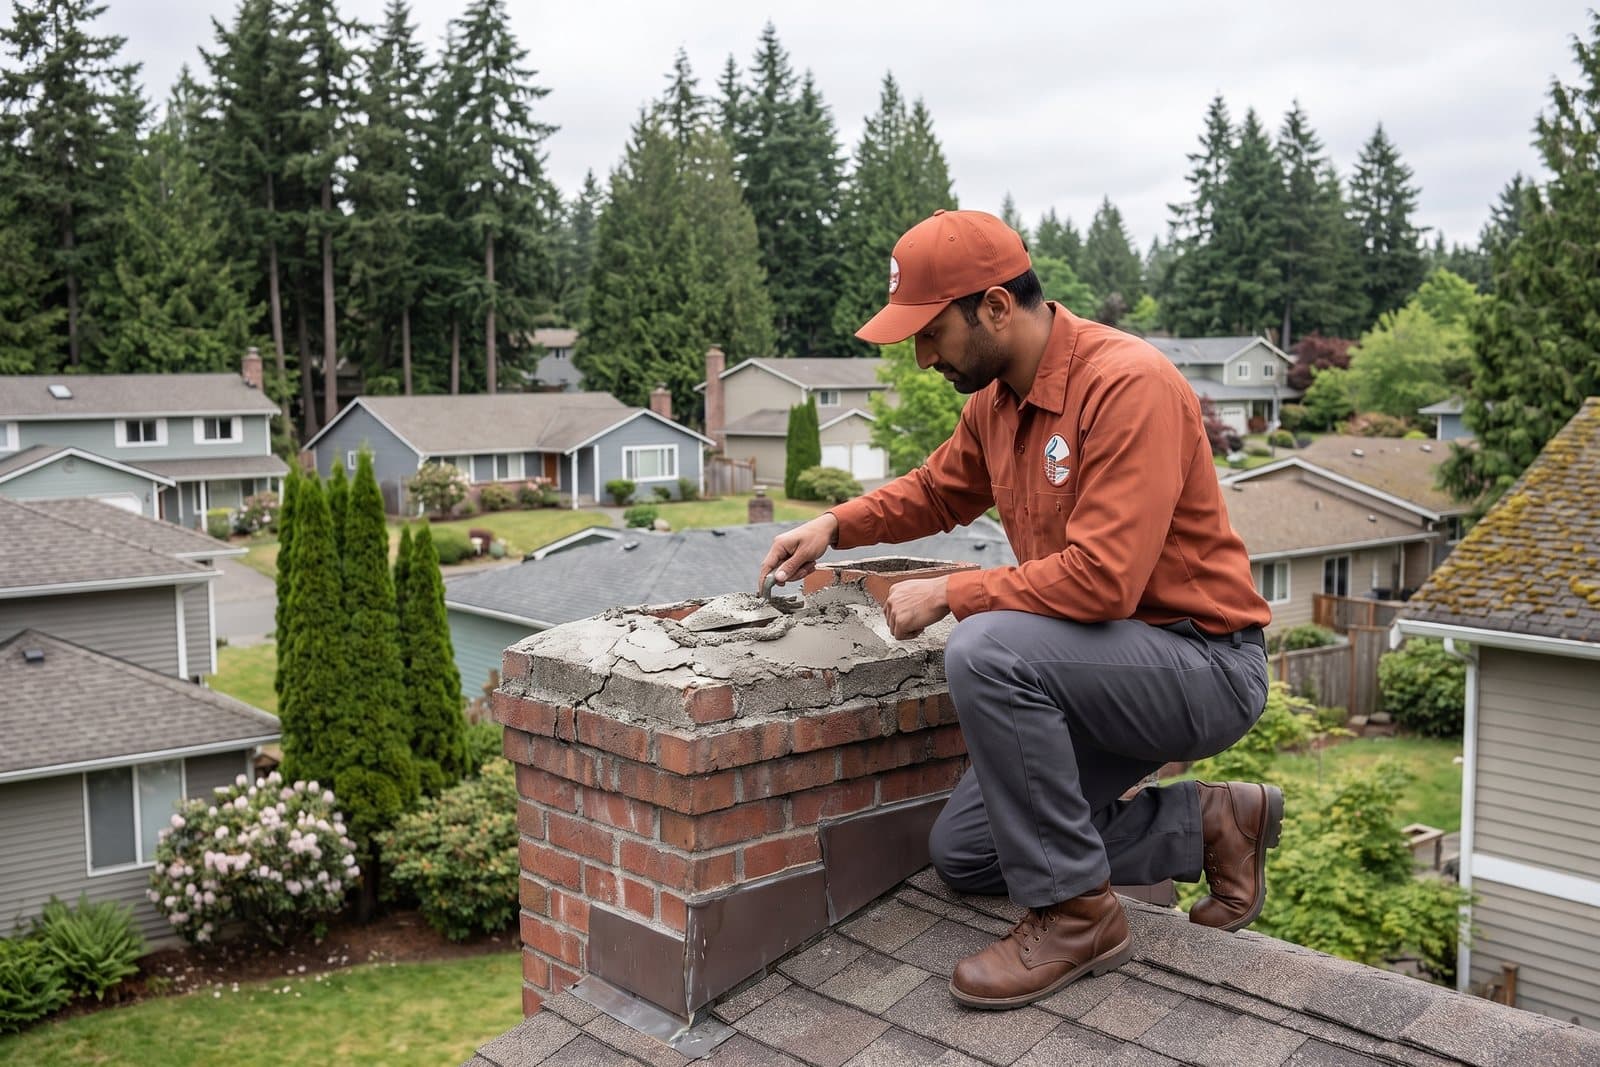
The state code expects the top of a masonry chimney to shed water: a crown of concrete, metal or stone, sloped, with a drip edge. Where that has failed, masonry repair restores the crown and joints, and waterproofing with a breathable repellent slows the next round of soaking.
Fault lines
Redmond's hazard annex says the city sits near two fault zones and on a liquefaction zone that makes shaking more damaging; Sammamish's annex ranks earthquake as that city's greatest threat. Masonry chimneys are where it shows first. When the Nisqually earthquake (magnitude 6.8) struck in 2001, USGS researchers afterward checked approximately 60,000 chimneys across the metro area and found 1,556 damaged. FEMA's chimney advisory rates a masonry chimney on a wood-frame house as extremely vulnerable when the ground shakes, and adds that rebuilding one exactly as it was leaves it just as exposed.
Washington's residential code requires reinforcing and seismic anchorage for masonry chimneys in Seismic Design Categories D0, D1 and D2. Which category applies to your address is a question for your building department; we do not guess at it. What we can do after a quake you felt is look: at the roofline, down the flue, and at the joint between chimney and house. A chimney repair done before the stack shifts further is the smaller job.
The part you never see
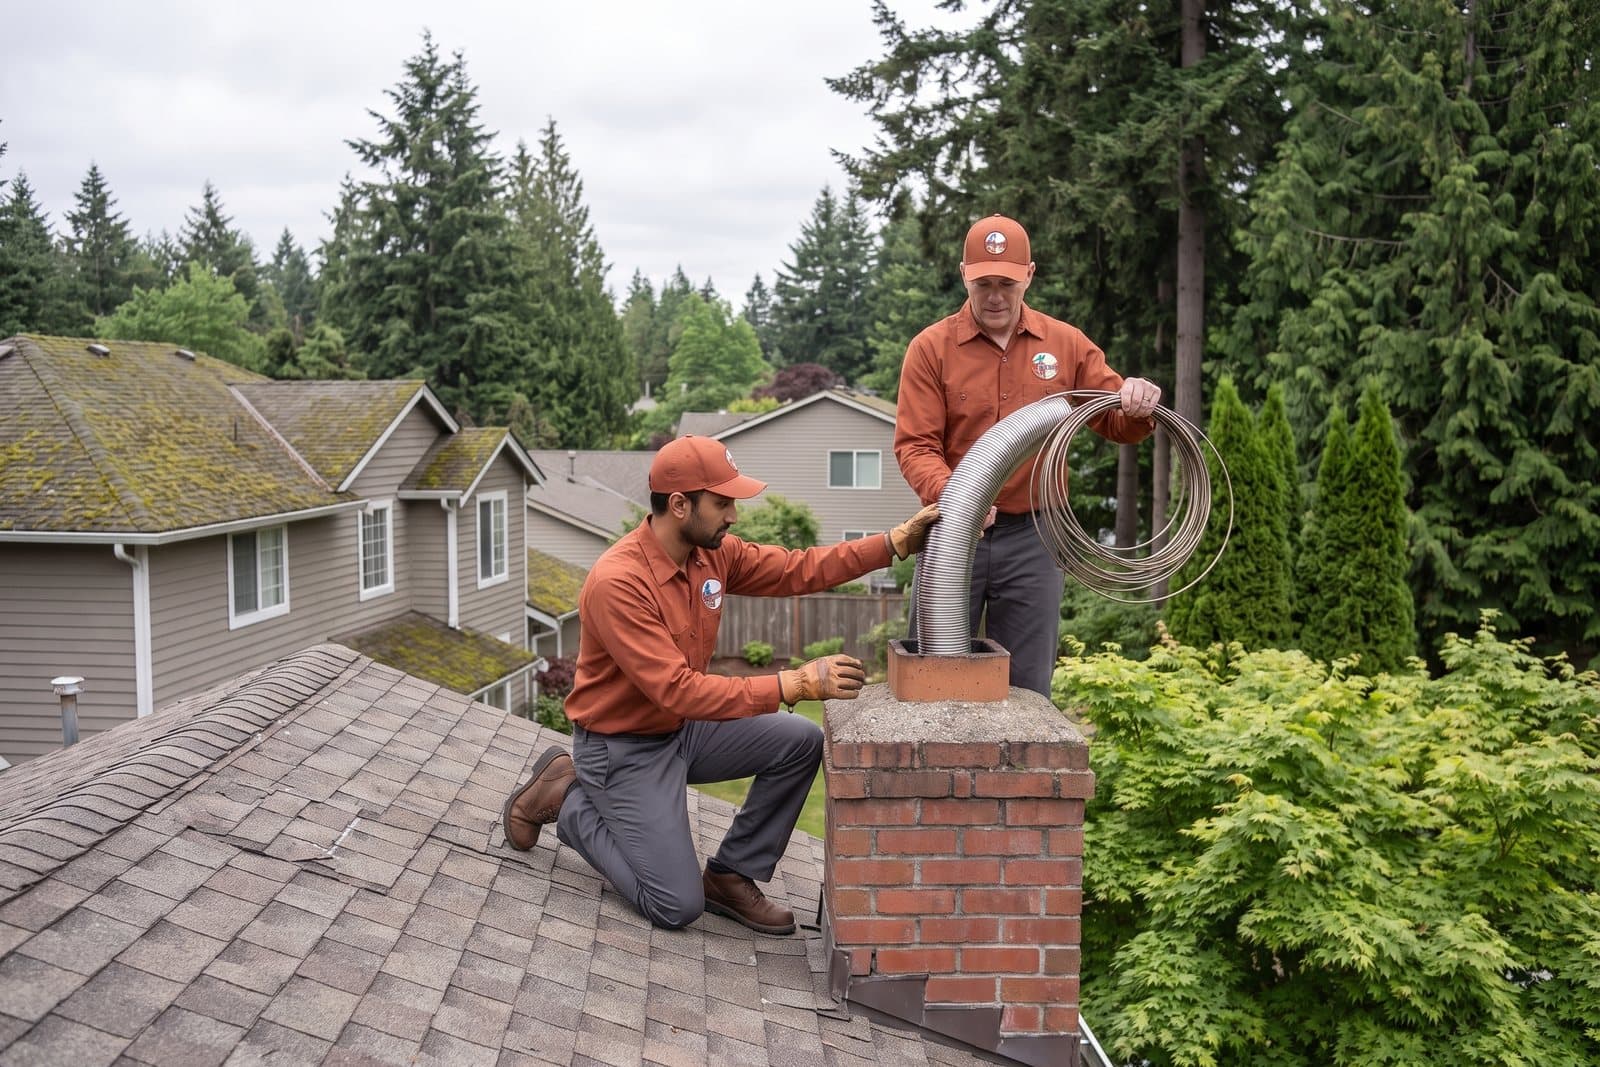
Those three lines summarize what the 2021 Washington State Residential Code asks of a masonry chimney. The lining contains heat and exhaust; the air space keeps what heat does escape away from wood. A cracked tile or a missing section defeats the first, and the second was never designed to work alone.
Factory-built fireplaces follow a different rule: they must be listed, labeled and installed according to that listing, and their chimneys must meet the high-temperature standard when they serve solid fuel. When a camera finds a failed lining, chimney relining with a continuous stainless liner brings the flue back within the code's terms.
At the roofline
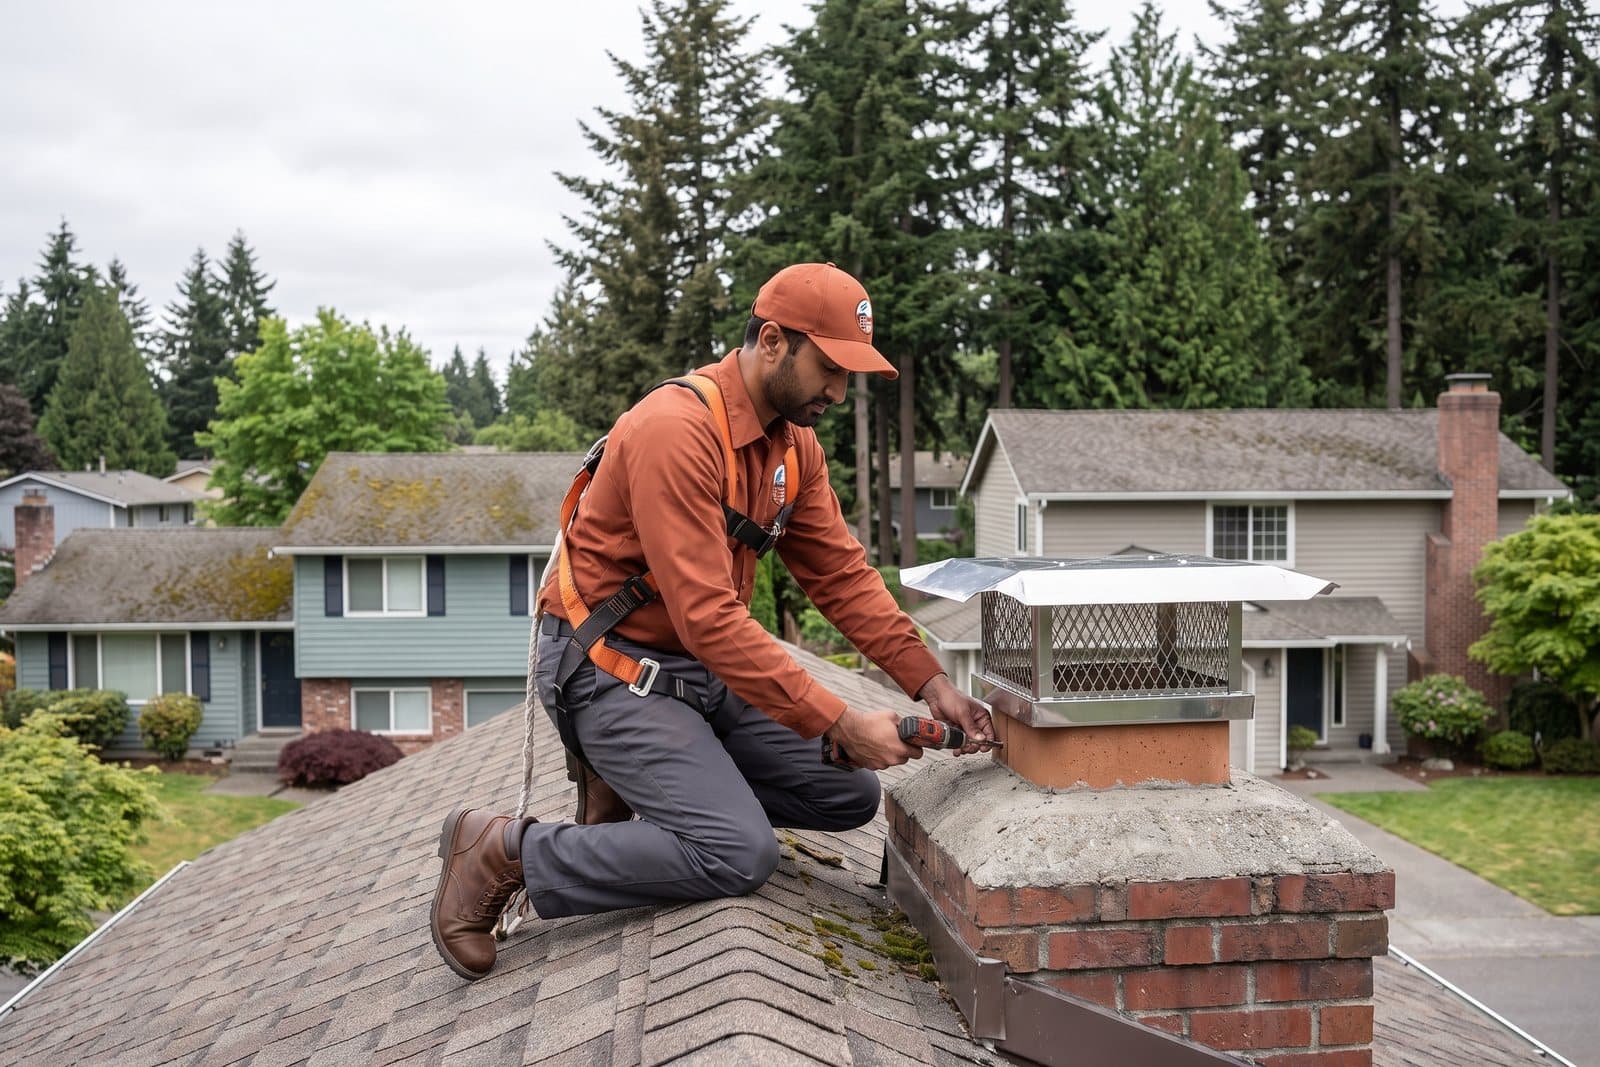
The height rule exists for draft and for sparks, and the State Fire Marshal's advice adds a chimney cap on top. Where a cap carries a spark arrestor, the code wants its open area to be four times that of the flue outlet, so the screen never throttles the fire below.
Lower down, flashing keeps the roof joint dry. Trees complicate all of it: Sammamish's hazard annex puts 48% of the city under canopy and describes winter storms that bring down limbs in numbers. Roof moss, in Oregon State University Extension's word, is inevitable in a moist climate like ours; its long-term remedy is more sunlight on the roof, which means pruning what overhangs it.
In the living room
Washington amends the model code for masonry fireplaces. A fireplace built on site needs doors of glass or metal that fit tightly, or else a draft induction fan or another approved way to limit back-drafting; it needs a metal damper and a duct that brings combustion air from outside. The hearth extension in front has minimums too: 16 inches out and 8 inches past each side of the opening, growing to 20 and 12 for openings of six square feet or more. Around all of that, the Fire Marshal asks for a three-foot zone that children stay out of.
Permits
The 2021 Washington State building codes have applied since March 15, 2024. When this guide was checked on October 4, 2026, the State Building Code Council had not yet published adoption dates for the next residential, mechanical and fuel gas editions. Who issues your permit depends on which side of a city line the house sits.
The city's mechanical permit application lists fireplaces, gas log inserts, gas piping and wood pellet stoves or inserts among the fixtures to declare. Plan review is not required for one- and two-family houses, and a contractor must hold a City of Redmond business license before starting. Permits go through the Development Services Center on NE 85th Street or the city's online ePermitting service.
Sammamish applies the 2021 state residential, mechanical and fuel gas codes and takes applications, and inspection requests, through MyBuildingPermit.com. Its 2025 fee schedule carries a flat mechanical line for a wood stove or fireplace insert, and others for gas logs and gas piping. The city's own list of exempt work could not be read for this guide, so ask the Building Division.
Duvall publishes a 'Permit Required' list. It marks inserts, wood-burning stoves and fireplaces as needing one, and gas piping too. Applications are filed online, where a residential express mechanical permit is one of the listed types.
All Carnation permit applications pass through the city's Online Permit Center, and a mechanical permit form is among those it posts. The city pages read for this guide do not spell out which fireplace or stove work needs one, so a call to City Hall before the job is the safe move.
Outside city limits, the county requires a residential mechanical permit to install, replace or relocate wood stoves and fireplaces. Gas log inserts are exempt, though a gas piping permit may still apply. Applications go through MyBuildingPermit.com.
The Department of Ecology certifies wood-burning devices but leaves installation to the local building department, which is why the answer changes from town to town.
Division of labor
Daily habits belong to the household. Anything inside the flue, on the roof or connected to a gas line belongs to someone with the tools and the fall protection for it.
Before October 9
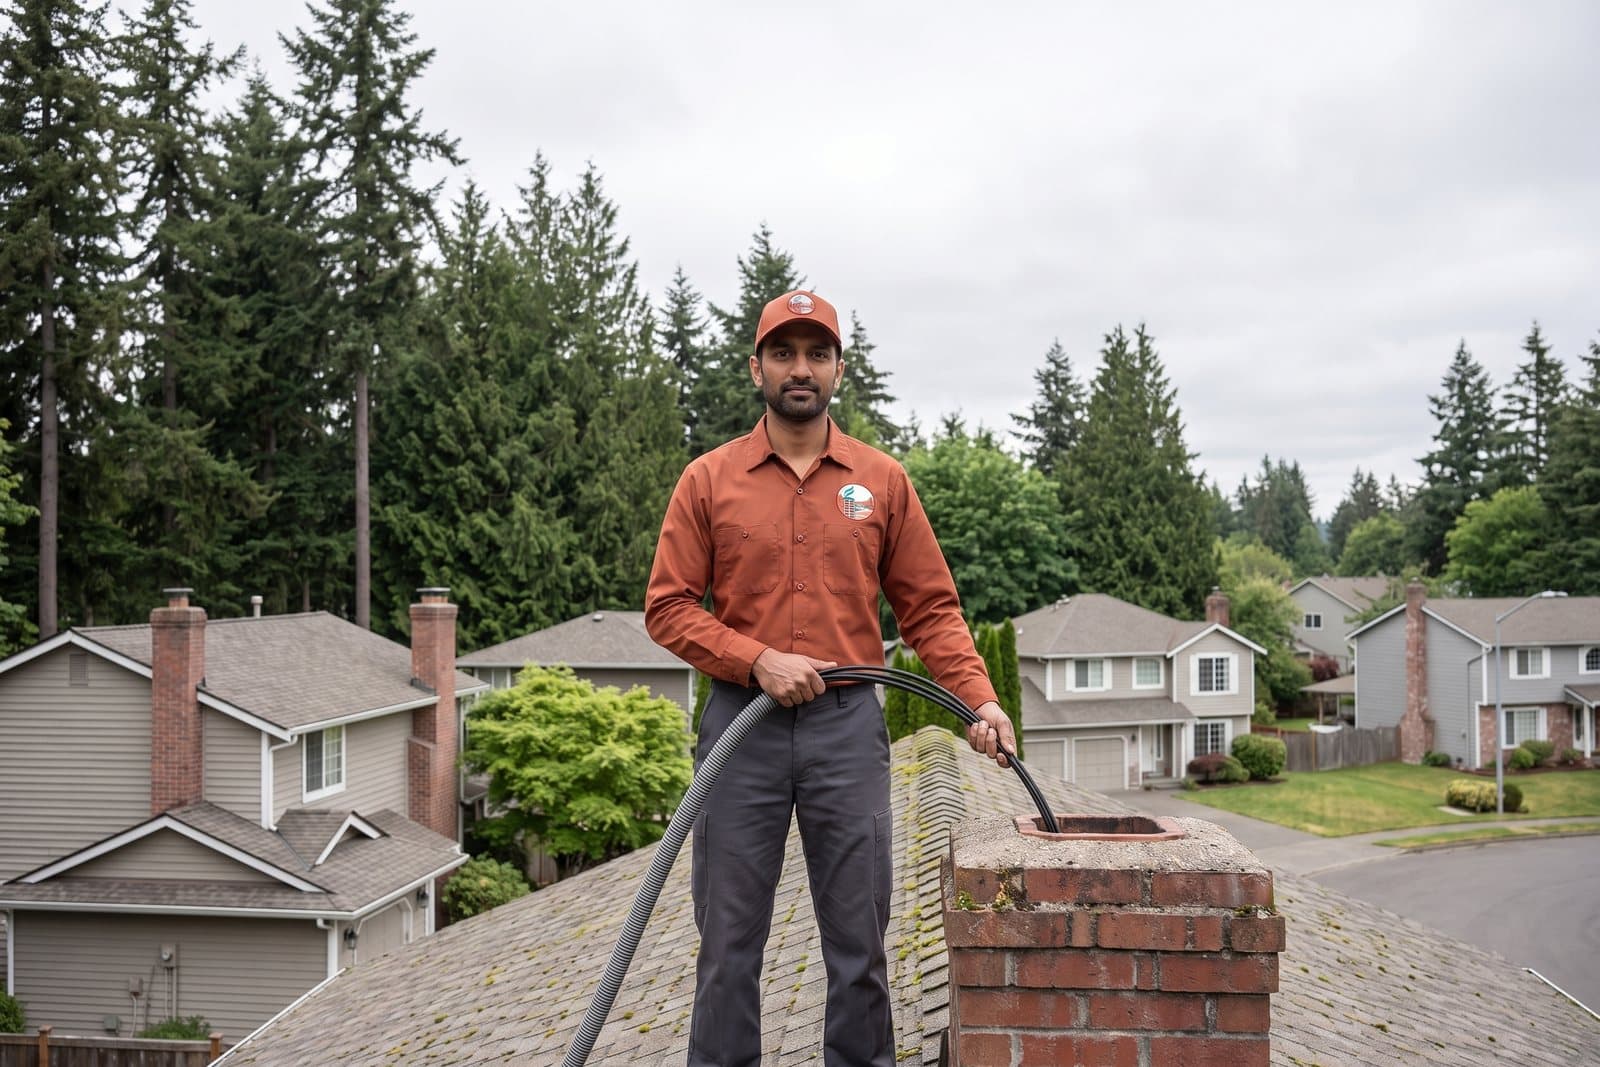
While the roof is dry. If it finds a repair, there is still time to finish it before the wetter season begins.
An eighth of an inch of soot, or any glaze, is the threshold. The inspection tells you which side of it you are on.
A cap that is crooked or gone, a crown with plants in it, flashing that has lifted: all visible from the yard with binoculars.
Split, stacked off the ground and covered on top. Wood cut this spring is next year's fuel, not this year's.
The Clean Air Agency sends them. It takes a minute now and saves a violation notice in December.
Further reading
Our blog goes deeper on single topics, one article at a time, with the same habit of naming where each fact comes from.
Questions
Sources
Every rule and figure on this page was read at its source on October 4, 2026. NFPA 211 itself sits behind a paywall, so its inspection wording is cited as CSIA quotes it.
Redmond Chimney Pros inspects it, photographs each part and puts the findings in writing. The visit is $99 plus tax, credited toward the repair when you approve the quote.